Showing posts with label butyl liner. Show all posts

Friday, 27 June 2014

Many years ago.......

.....in a small market town in Derbyshire, some fool decided that building a Japanese garden and tea house would be a good plan and probably wouldn't take all that long. That fool was me and eight years later, it's still not finished! However, we have just about finished renovating our 1920's house, learnt how to grow fruit and vegetables, made a lot of other changes in the garden and had a life with our gorgeous daughters, so all is not lost!

I'm not known as a speedy blogger and many of my posts refer back to stuff we did ages ago - ok, MOST of my posts are about about stuff we did ages ago...life gets in the way of blogging at times! Today's post is no exception. Today we're going back 4 years to the finishing off of the top pond and the tea house courtyard....if I can find the right photos after all this time!

We'll start with Himself putting my granite lantern into the pond....and making it work, obviously!
He put a couple of large flatish stones on the pond shelf before drilling a hole for the wire in another stone and resting that on top. The water looks skanky because we hadn't got the filter working at that time - the water is lovely and clear now.

 The granite lantern came in 4 parts - because it was chuffing 'eavy and couldn't possibly have been hoiked into place as one complete lantern. The base went on top of the drilled stone,

it was of course perfectly level!
The light was then threaded through the hole and the wire was carefully placed in the small gap between the 2 base stones.
The clamps and stuff on the edge of the tea house veranda were because Himself had glued some mahogany pieces onto the edges to completely encase the softwood and protect it from the weather.
The second piece of the lantern went on next. In Japan, the windows are open  to the elements, but our elements are a bit too inclement for that, so I used pieces of plastic milk containers to provide protection - an idea I borrowed from Purelands, a Japanese Garden and Meditation Centre near Newark which is well worth a visit if you're in the area.
The mountain of soil inside the fruit cage will get explained in another post very soon!

Himself making sure he'd not dribbled glue onto the grantite whilst sticking the third piece on!
The fourth piece finally in place.
 Once Himself had done the heavy work, I could move in and do the arty-farty bit! I covered the shelf  and the surrounding edges with more small rocks, stones and pebbles. If there is one thing I can't abide with home-made ponds it's being able to see the liner - you can't see any liner anywhere around my ponds.......except if you lie on your tummy on the veranda and peer back underneath to the bit I can't get to! :-P
 A goodly chunk of the pond shelf and edge sorted and the waterlillies in place in the deep bit of the pond.
Himself's next task (it's begining to sound like 'The Twelve Labours of Hercules' here!) was to make me a Tsukubai - a stone water basin. Traditionally they are smoother on the outside, often rounded, but hey - we had lots of big rocks lying around the yard....!
First he drilled a load of holes,

 before chiseling the stone out
 to make a nice smooth central water hole.
The only slight problem was that he'd done the job down on the yard and the tea house courtyard was about 100 yards up the garden! Everywhere is UP in our garden, including the stone, which was levered up
 and placed in our long-suffering wheelbarrow for Himself, Last-Born and the Drummer Boy to take up the garden. I can't remember which bit of me I'd injured at that point or how, but I was on light duties and therefore exempt from rock hauling!
hence we got photos.
There are no photos of getting it into place because I was too busy bossing them around and choosing which face of the stone I wanted facing outwards to take any!

The Wonderful Pete had put the step stone in place the previous weekend (but can I 'eckerslike find those photos!) and I laid down the stepping stones - in Japanese gardens the stepping stones are always deliberately close together to make you slow down as you walk on them so that you have chance to take in your surroundings.
They were then taken up so that sand could be put down

A fully sanded courtyard.
Then some left over butyl pond liner was put on top of the sand as a weed suppressant
before I had the fun job of putting all the pebbles down in the courtyard - individually handpicked and carefully placed, obviously!
 before putting pea gravel on the path from the bridge to the courtyard and blending in where they met. And so it has remained ever since!

To finish off, I've added in a few photos of how it looks now at 6.45pm on a grey and wet June day - when we've had stonking hot sunny weather for days, I know, I know - should have taken 'em yesterday!

 There will one day be a rainchain from the roof to the basin to fill it with fresh rainwater. At the moment I use the ladle to fill it with pond water ...but I do have to be careful at this time of year as I have been known to accidentally ladle tadpoles in as well!


 The granite lantern is a bit greener than it really ought to be ;-P


 Hope you enjoyed your tour? It's not finished yet....will it ever be?! I'm in the middle of replacing a lot of the 'filler' grasses with hebes, euphorbias and box balls. I'm also planting moss and other ground cover. Still got 2 paths to finish and some other stuff to do, so watch this space!

Sunday, 26 January 2014

Life In A Time Warp!

Okay, look, I know - and I'm feeling guilty about it, alright?! I haven't posted in forever, I missed doing my Christmas and New Year post altogether and it's suddenly the end of January and I don't know how I got here so quickly...so the only answer is that  there's a problem with my space-time continuum again and I'm stuck in a time warp that is distorting everything and making October actually just yesterday for me!!!

So, guilt gone and I've accepted I am now really in January - it must be true because I know it's been raining forever and I'm heartily sick of it. It's a wonder Britain doesn't sink with the weight of all that water on our sodden land!

I'm going to use my useful time warp and transport us back to the hazy, crazy but not so lazy days of last summer to show you the work on the bottom pond...at last! :-D
Ooops, I've just realised from looking at the dates on the photos that building the reservoir actually happened in April 2012, but we didn't get any further then because the awful weather set in for the rest of the summer and it was never dry enough for long enough to get the pond finished!

Right. Get yourselves a nice cup of tea, or whatever takes your fancy, and sit back and enjoy the ride!

Given that Himself is a reincarnated Victorian engineer, it wouldn't have been right if  we'd built a reservoir without him having to produce some wonderful contraption to help it along.
He made 2 cruciform wheels of spokes.....
 to go in place once he'd cleared out,shaped, sized,  levelled and put sand in the bottom of the long dug out reservoir pit. He then made a cylinder of 2 layers of hardboard - the inner one was shiny side out, the outer one was shiny side in and was 2" bigger in diameter - the reasons for this will become clear in a minute!
 The two cruciforms wedged the inner cylinder in place and kept it circular. The outer cylinder, being bigger, left a 2" gap for concrete to be poured in and we used offcuts of tea house insulation  to wedge the out cylinder in place. I'm a really good mixer of concrete (she said, modestly!)
 Once the concrete was set, we took it all apart, raised the cylinders and cruciforms up and repeated the process twice more - with a week between each move to let the concrete harden off. It was hard work and Himself proved to be a bit of a contortionist as he clambered inelegantly in and out of the hole with increasing amounts of stuff in it!
 The result? A beautifully cast concrete reservoir! Himself is a star!
 Now you're probably wondering why we needed a reservoir? Well even if you weren't wondering, I'm still going to tell you. The top pond is considerably larger than the bottom pond. It holds appoximately 6000 litres (or 1300 gallons if you prefer) and the bottom pond only holds about 2000 litres (500 gallons), so every time we switched on the pump to run the stream, the bottom pond water level went down about 2 feet - because the water level  in the top pond needed to rise by a couple of inches in order to get over the lip of the waterfall stone - but more about that later!

In the next photo, the green hosepipe shows the shape of the finished pond. It had only been, up to this point, a hole with a liner in it so that we could get the water levels right and check that the stream worked. It had never been properly dug out, shaped, shelved and 'done'. Part of the problem in getting it done was that I wanted the pond to extend across the skanky old path, part of which I'd already removed, hence the manky flagstones......

 and it was at the top of some equally skanky old steps!!! Yeah, yeah, I know ...first I build ponds under treees, then I put them at the top of steps!
We pumped the water out of the pond hole to let us access the hole.
 Anyway Himself , as ever, had a cunning plan to deal with my idiocy! He took out the old steps, used a few chunky pieces of pond stones to construct a dry stone wall to join up with the hideous old wall on the right (which at some point will be replaced with a nice wall!) and then he backfilled it with the topsoil we'd had lying in a heap from when we originally dug out the pond hole about 5 years ago!
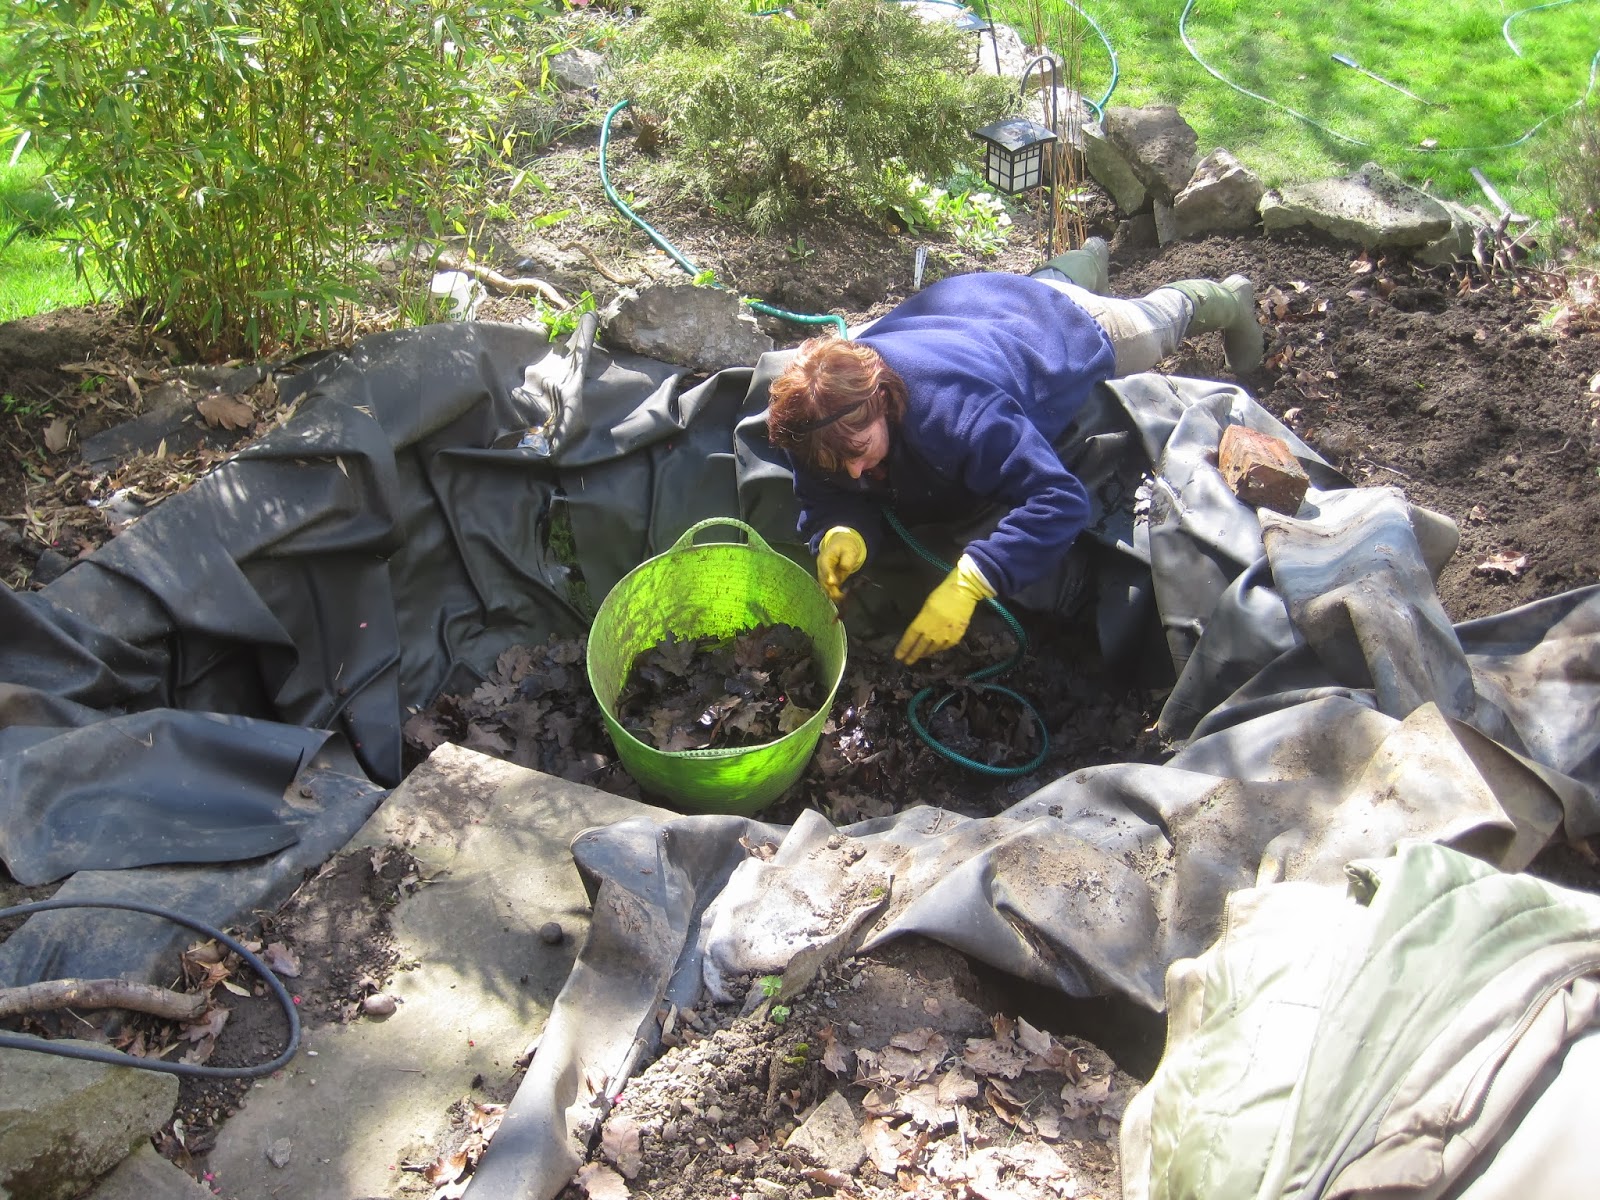
I then had the dubious pleasure of clearing several years worth of leaves, gunge, frogs, newts and assorted other squirmy things out of the  bottom of the hole. Balancing somewhat precariously on the edge of a hole where the bottom was juuuust deeper than I could safely reach did wonders for my core muscles - ouch!
 Then liner was then removed and Himself went all technical again. I pointed out where I wanted the shelves to be. He then carefully worked out all the levels and did the scary bit of drilling the hole through the concrete to put the outlet pipe in place. No use having a reservoir if you can't get water in or out of it!
 The outlet pipe was fitted - after a bit of a struggle in a confined space again, but at least there were no cruciforms in there this time!
 and backfilled with soil, then a layer of  builders sand on top.
 The tank was lined with fleecy pond underlay
 and then, with Ower Dave's help, a specially made 'top hat' shaped butyl liner was carefully put into place and glued down.
 The rest of the pond was properly dug to size and levels. Ower Dave lined it all with fine sand - that I had spent hours making from the sandstone I'd dug out of the pond holes years ago and stashed up the garden on some tarpaulin. It just needed a bit of bashing and putting through a griddle.
 We filled the reservoir, checking carefully for any leaks - and, of course, there weren't any!
 The fleece liner  was put in place and swept clean of any small stones and grit
 before the butyl liner was finally laid...after sitting in the shed for 2 years!
 Himself cut the hole in the liner for the outlet pipe and fastened the outlet seal in place
  and we left it to fill up with water
 ...and it stayed that way for a whole year!
To be continued........!
Oh, and Happy New Year everyone!

Tuesday, 14 April 2009

The start of the REAL stream building!

Digging out the stream was done in stages - it was hard work and always seemed to involve me needing to go where piles of rocks happened to already be, thus necessitating yet another round of rock shifting! By the time I'd finished the stream I'd finally gotten quite good at moving the rocks to somewhere completely out of the way - although heaven only knows why I couldn't have worked that out earlier!

Digging out the top part of the stream: The route and the shape of the stream opening from the waterfall went through various manifestations before I was satisfied that I'd got it looking 'right'. I'd originally planned to have a promenentary at one side of the waterfall for a granite lantern to stand on, but this would have caused me to have a sharp bend in the stream and when I marked it out with my trusty hosepipe length I wasn't happy with it, so reverted to a more linear exit from the pond and a smoother curve on the stream - but I will find somewhere to put a lantern near the water before I'm finished!

Below is the stream completely dug out, with the bottom bridge roughly in the right place and the bottom pond hole with its temporary liner - bearing in mind that this is last summer (2008) and the bottom pond STILL looks like this ...........temporary takes on a whole new meaning with this project!

We then laid down the fleece underliner and the butyl top liner down the length of the streambed, making sure that any overlaps overlapped on the downhill side before we glued it! We used a special waterproof glue that still works even when the butyl is damp or even under water - essential in case of leaks, not that there would be any given Himself's meticulous work.


My original idea for the stream had the water cascading at speed down to the bottom pond, but when we tested out the waterfall before I'd fully finished off all the digging and levelling I found that I actually quite liked the accidental look we had achieved of a shallow pool between the pond and the top bridge - and decided to keep it like that!
The accidental pool from below!

To be continued...... well we didn't do the stream in just one day!